
Recently had a residential customer with an older home. She explained there was cement and chicken wire used in the walls during construction. That and the walls are definitely not your typical drywall, rather, more like a thick plaster. The ISP modem/router was located in the far back room of the house and that was about the only room that got WiFi. We first tried just replacing the default ISP router with a higher power WiFi router but that did not help. So we put the ISP router back and went to the drawing board to come up with another solution.
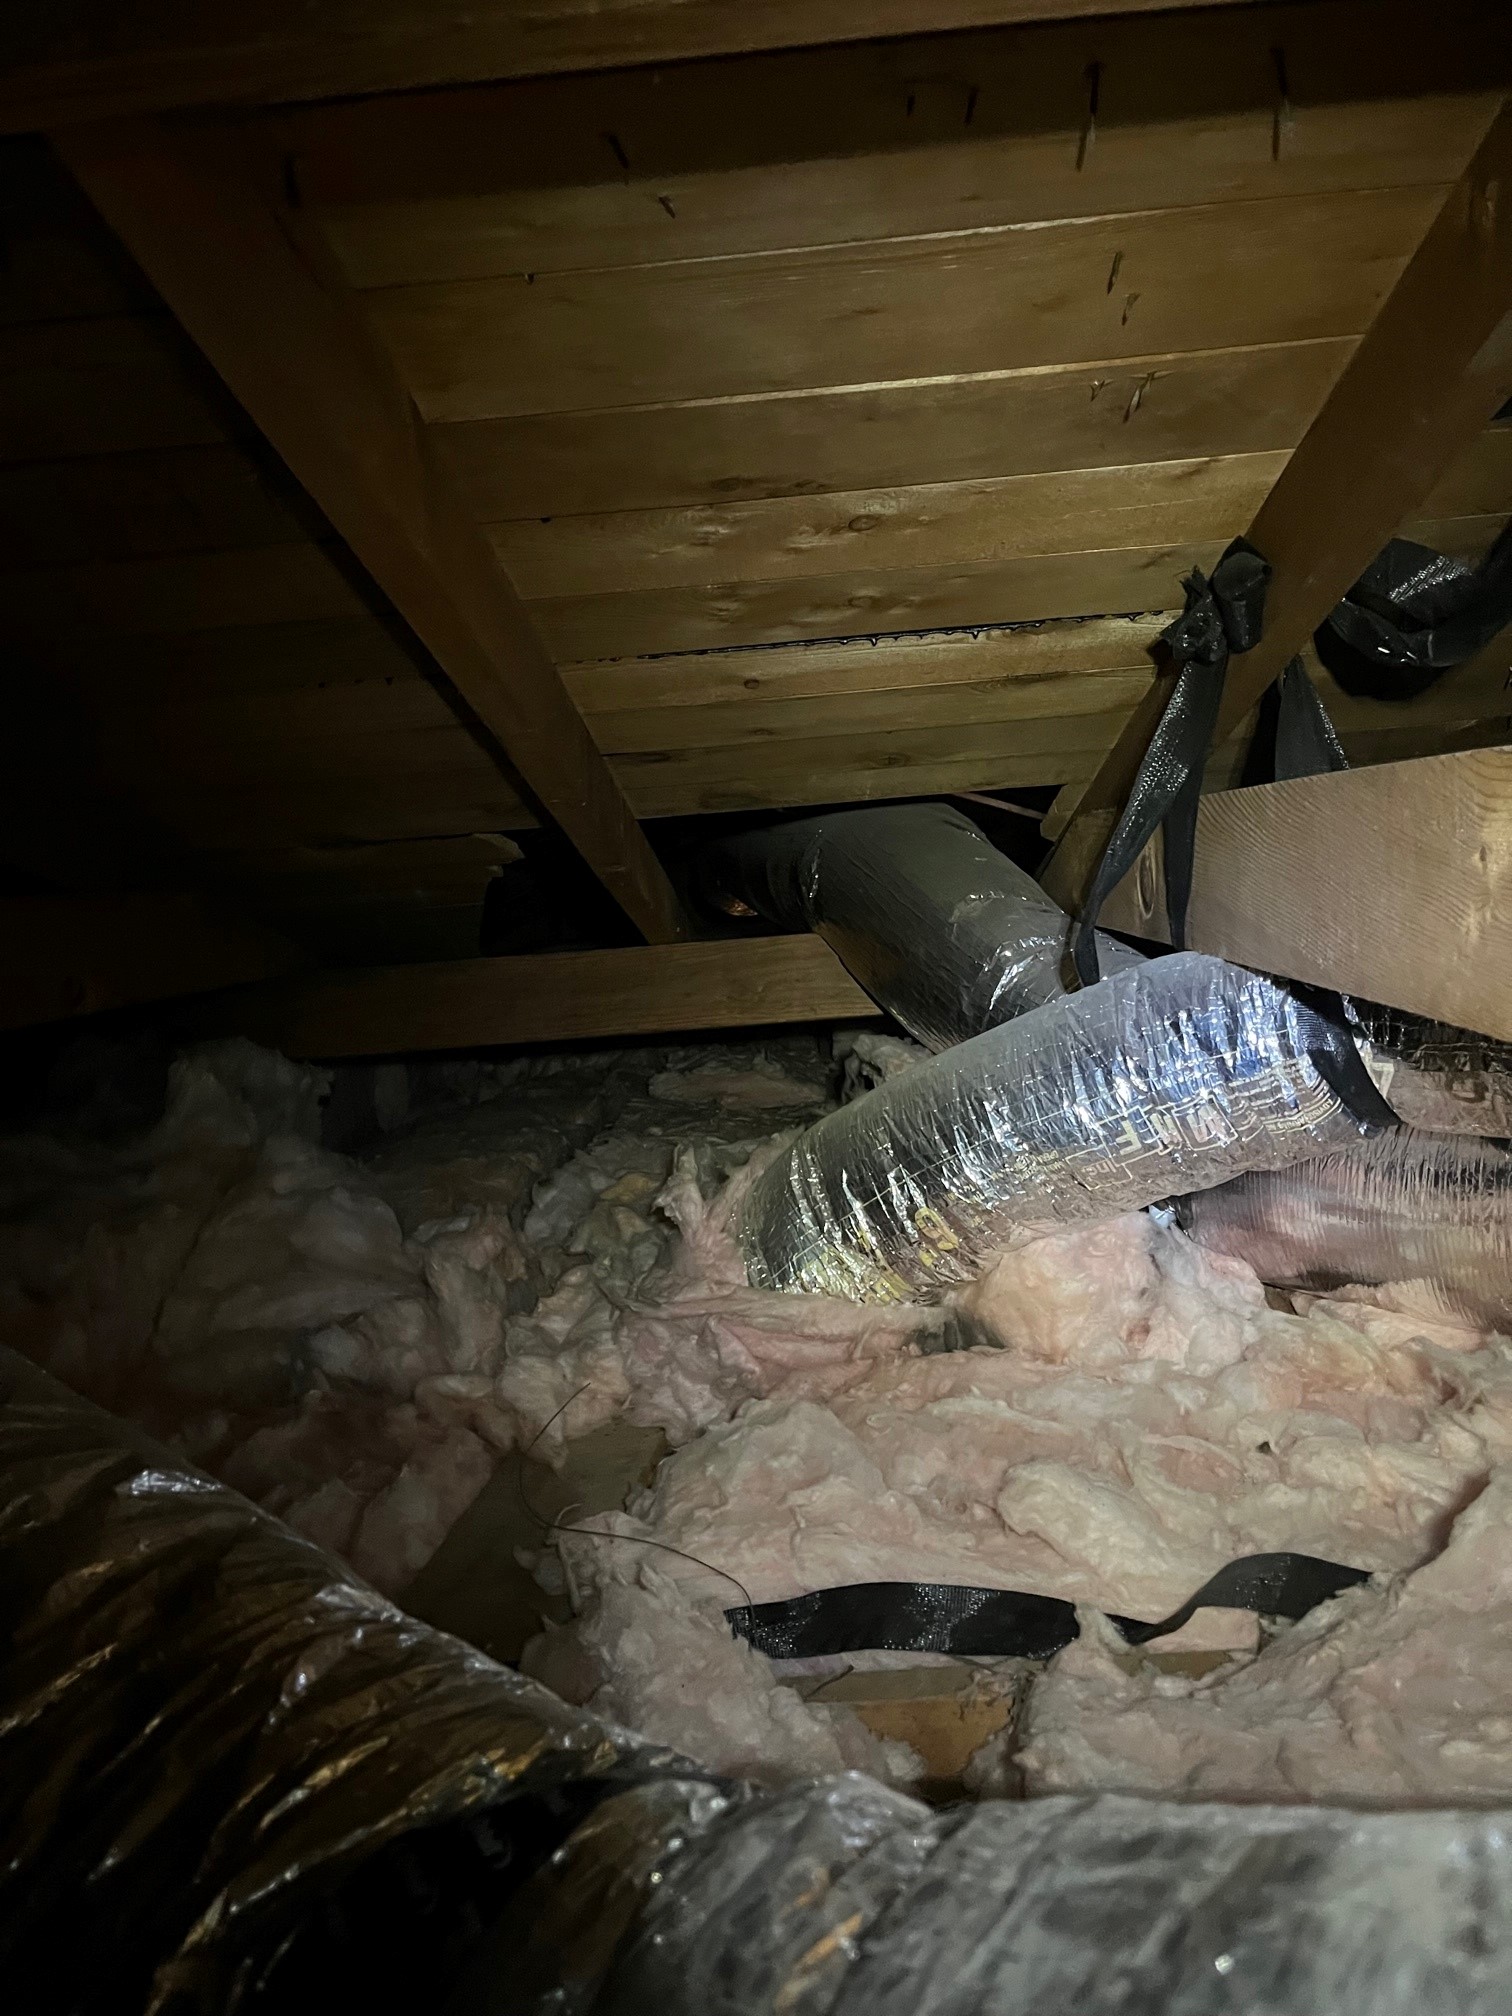
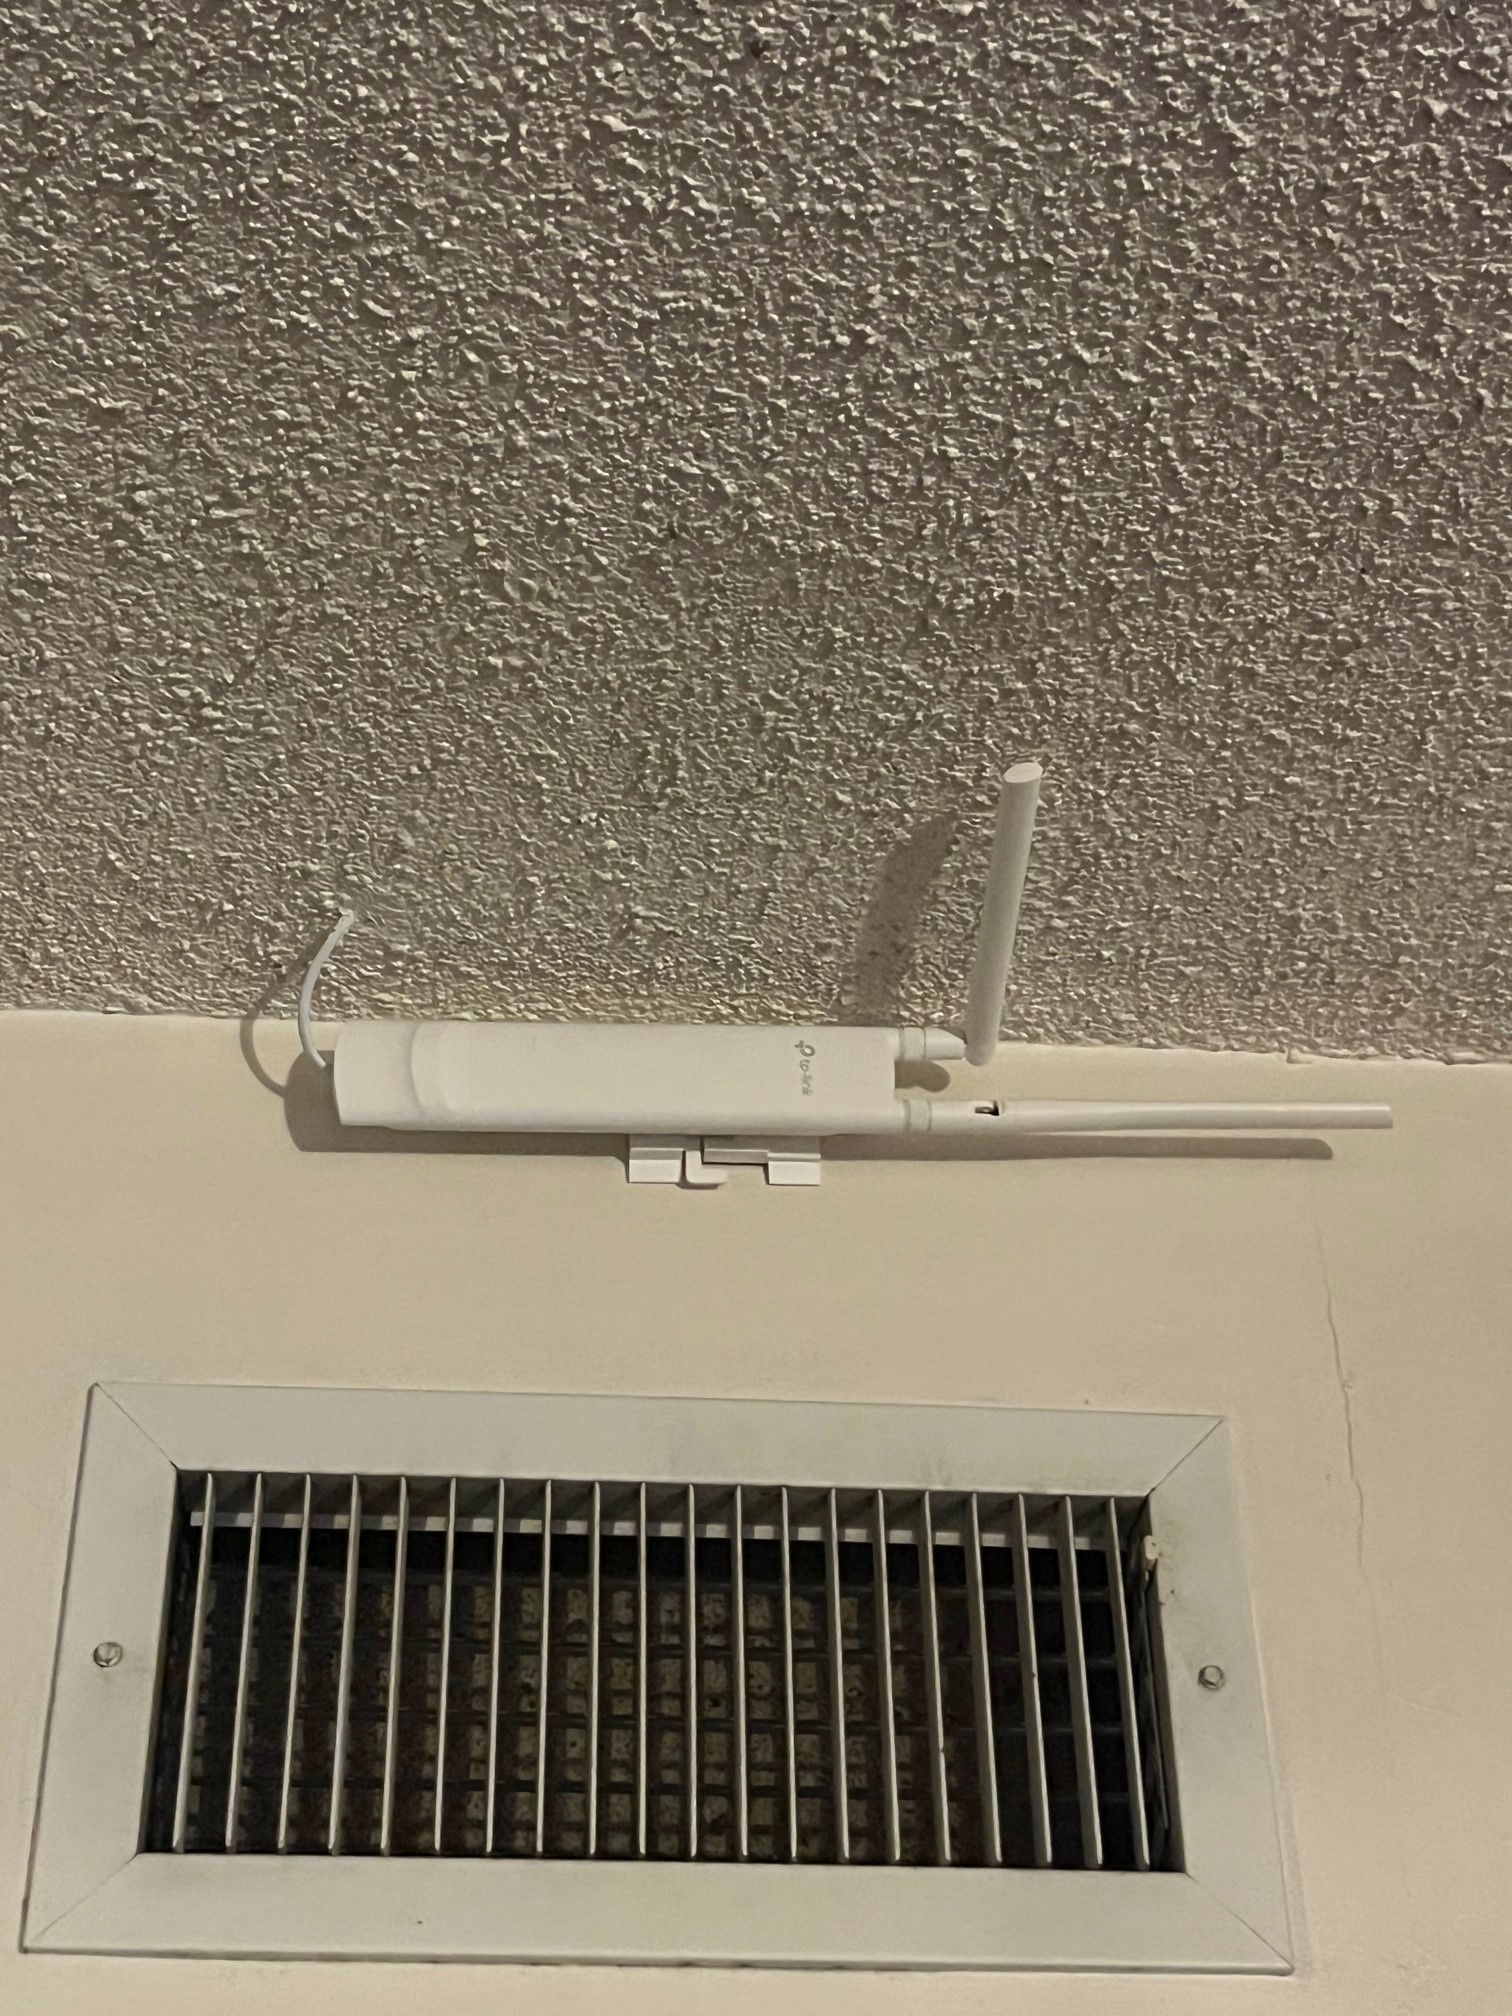
We ended up fixing the poor WiFi signal issue with TP-Link EAP110 Outdoor v3 Access Points. Why outdoor model though? We’ll get to that in a minute. We chose these because TP-Link has a good reliable reputation and generally makes a high quality, affordable products (only $40 a piece). Anyway, it was time to wire up an access point to the front of the house so we took some CAT5e cable, ran it through the attic, all the way up to the living room, punched a small hole in the ceiling and dropped the cable through. Then mounted the TP-Link access point to the wall just above the vent and plugged the cable in. Ta Daaaawww! Strong WiFi signal available now in the front as well as throughout the rest of the home.
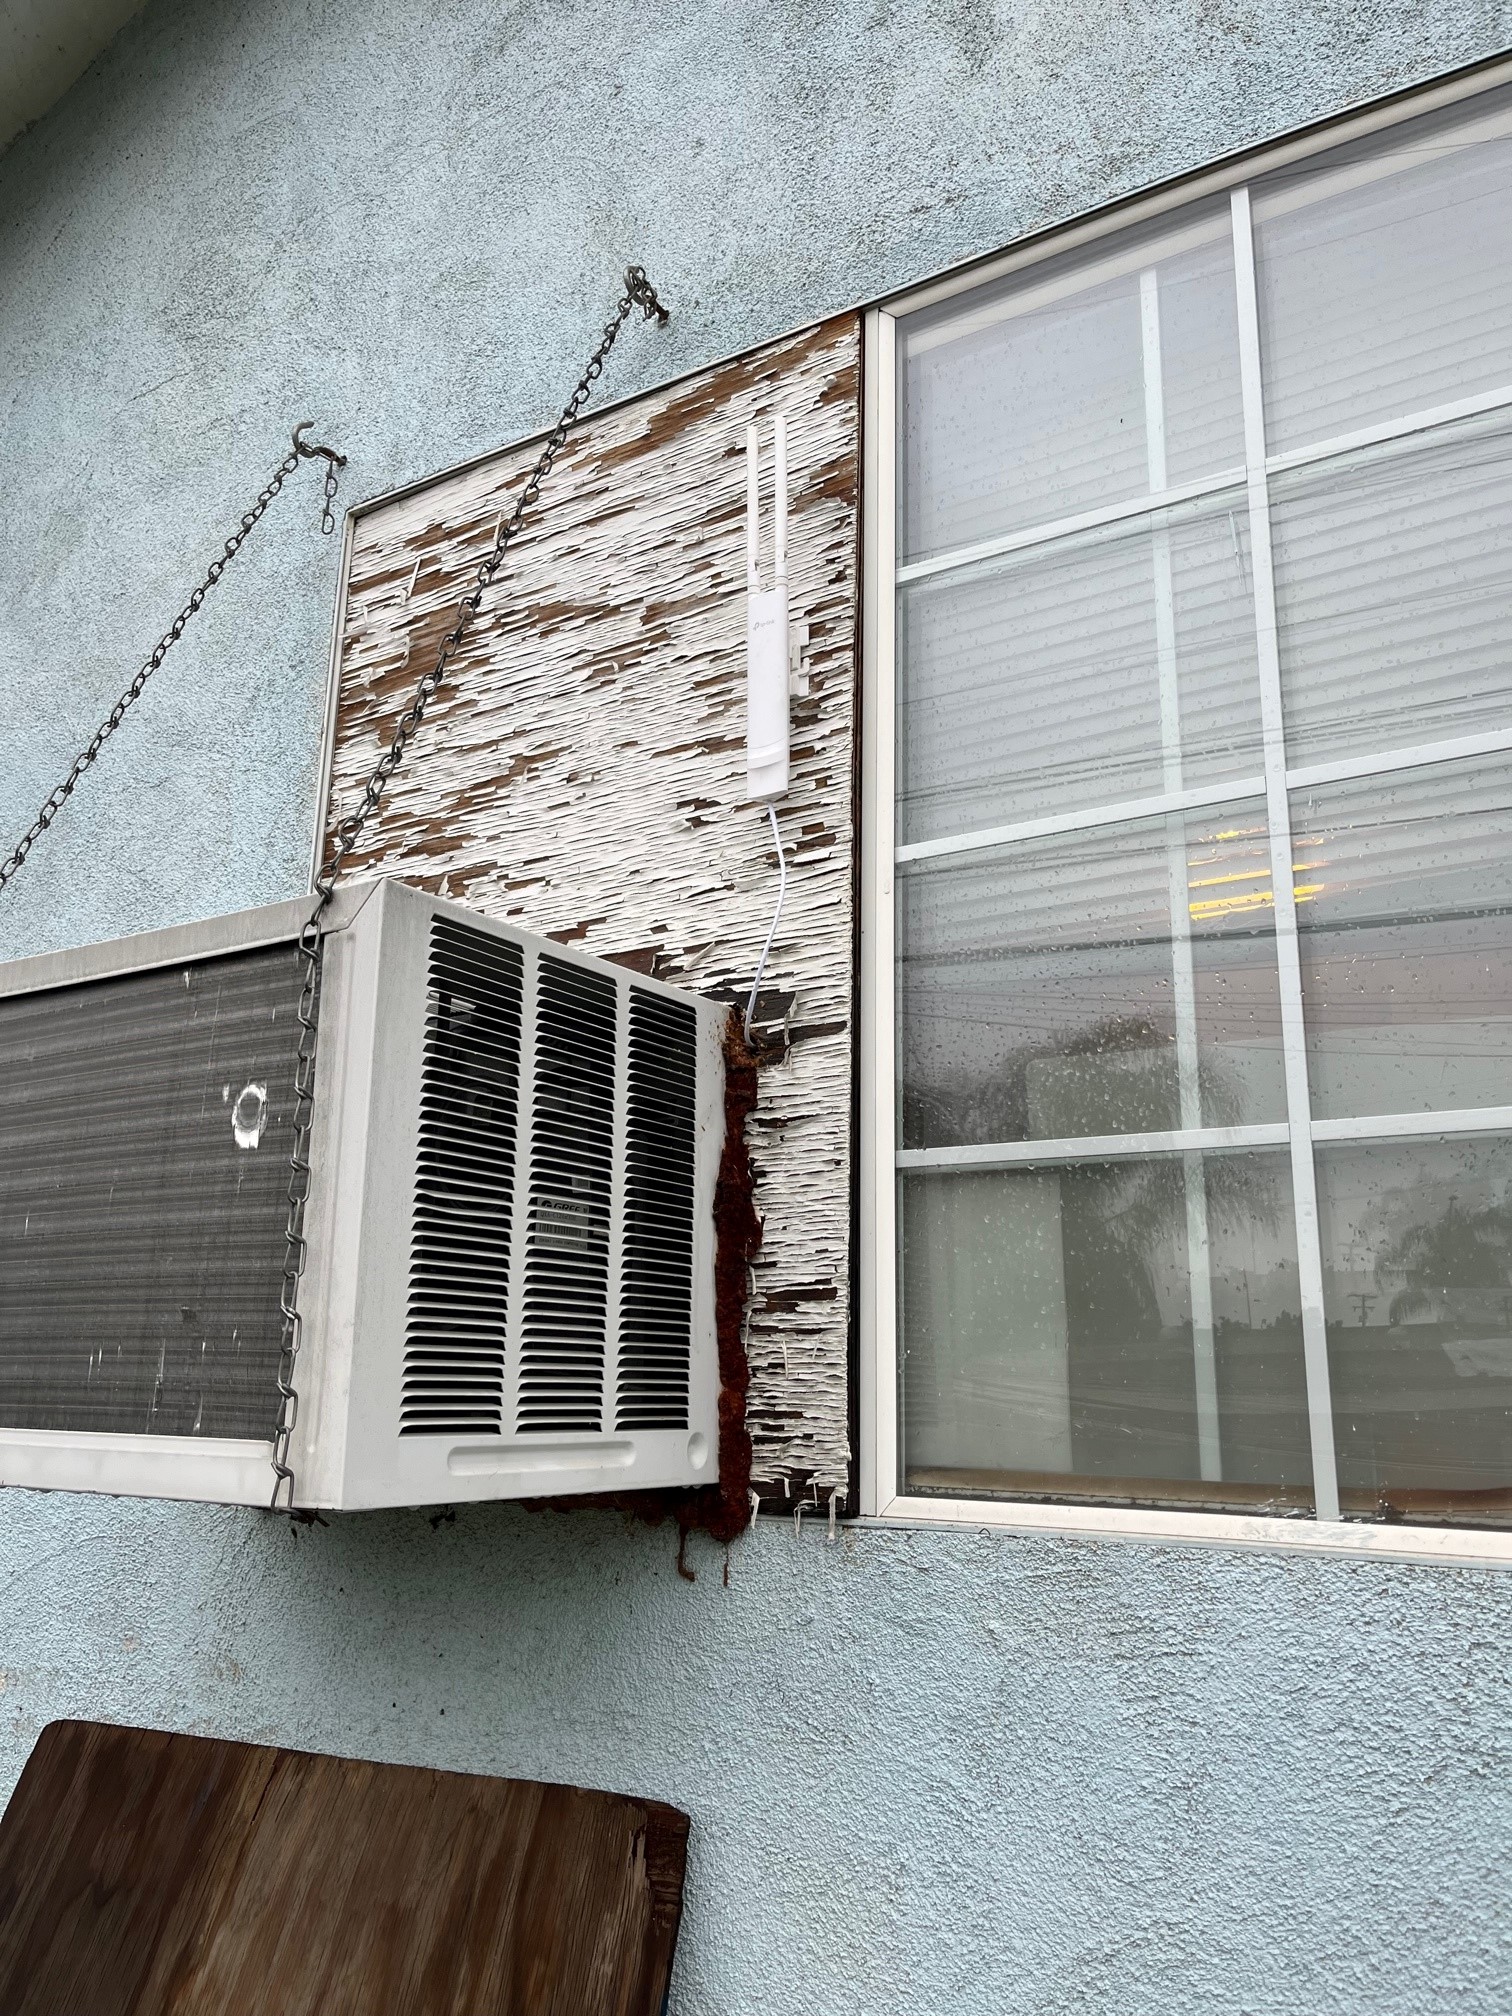
However, they were still struggling with poor WiFi signal in the back yard. And now you know why we went with outdoor access points. Same deal there, punched a small hole through the wall in the back room, ran CAT5e to another TP-Link Access Point mounted outside the home. Then sealed up the hole with some weather sealant grade caulking. Tested and now they have good WiFi signal coverage in the back yard too.
Configuring TP-Link EAP110
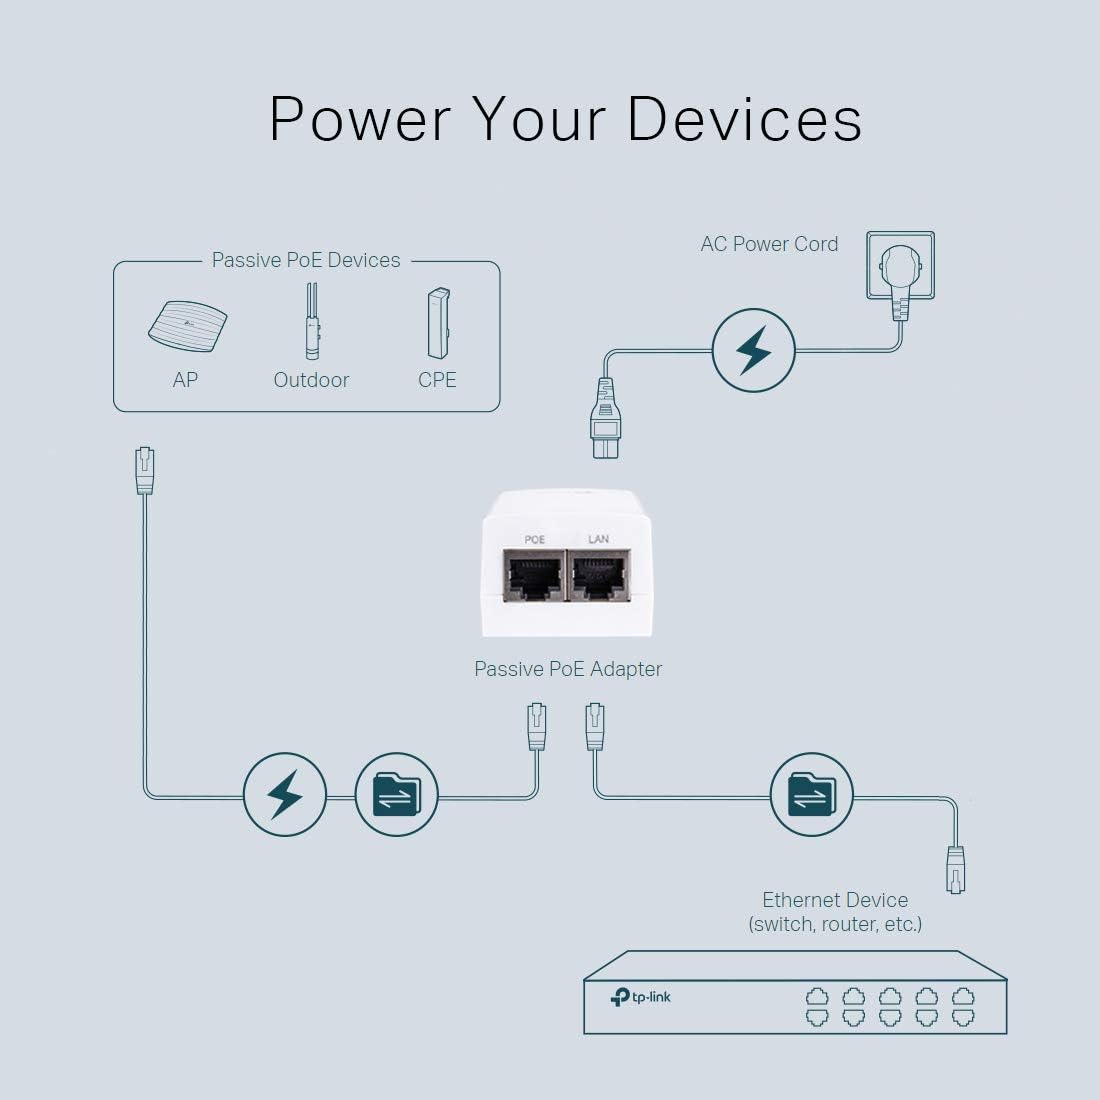
As far as setting up/configuring the TP-Link AP’s, super simple. They come with a POE injector, so just take two network cables and ->
Network cable 1 – plug into the LAN port on the POE injector and plug the other end into your ISP router – anyone of the switch ports is fine ( this step is required – otherwise you will not be able to get logged into your access point for configuring)
Network cable 2 – plug one end into the POE port on the POE injector and plug the other end into your TP-Link Access point (this step will power on your TP-Link access point)
Obviously you will then plug your POE injector into a power outlet and or surge protector (recommended)
Once all that is hooked up correctly, the TP-Link AP should be broadcasting a signal (SSID – ‘TP-Link’..something..something (varies a bit by model)). Simply pop on your laptop, connect to the default SSID of the TP-Link AP and the navigate to http://tplinkeap.net. That should bring you to the TP-Lin AP login page – default login should be:
Username: admin
Password: admin
(all lower case)
Once logged in, all you have to do is set your SSID and your WiFi password. That’s pretty much it. As I said, configuration is super simple. Please note, if you want to utilize WiFi Roaming, then I suggesting setting the same SSID’s and WiFi passwords across your access points. TP-Link AP’s should handle the rest.
Overall I will have to say we are quite pleased with this access points. Definitely got the job done and so far they have survived some moderate rain already. Looking forward to using these again in the future.