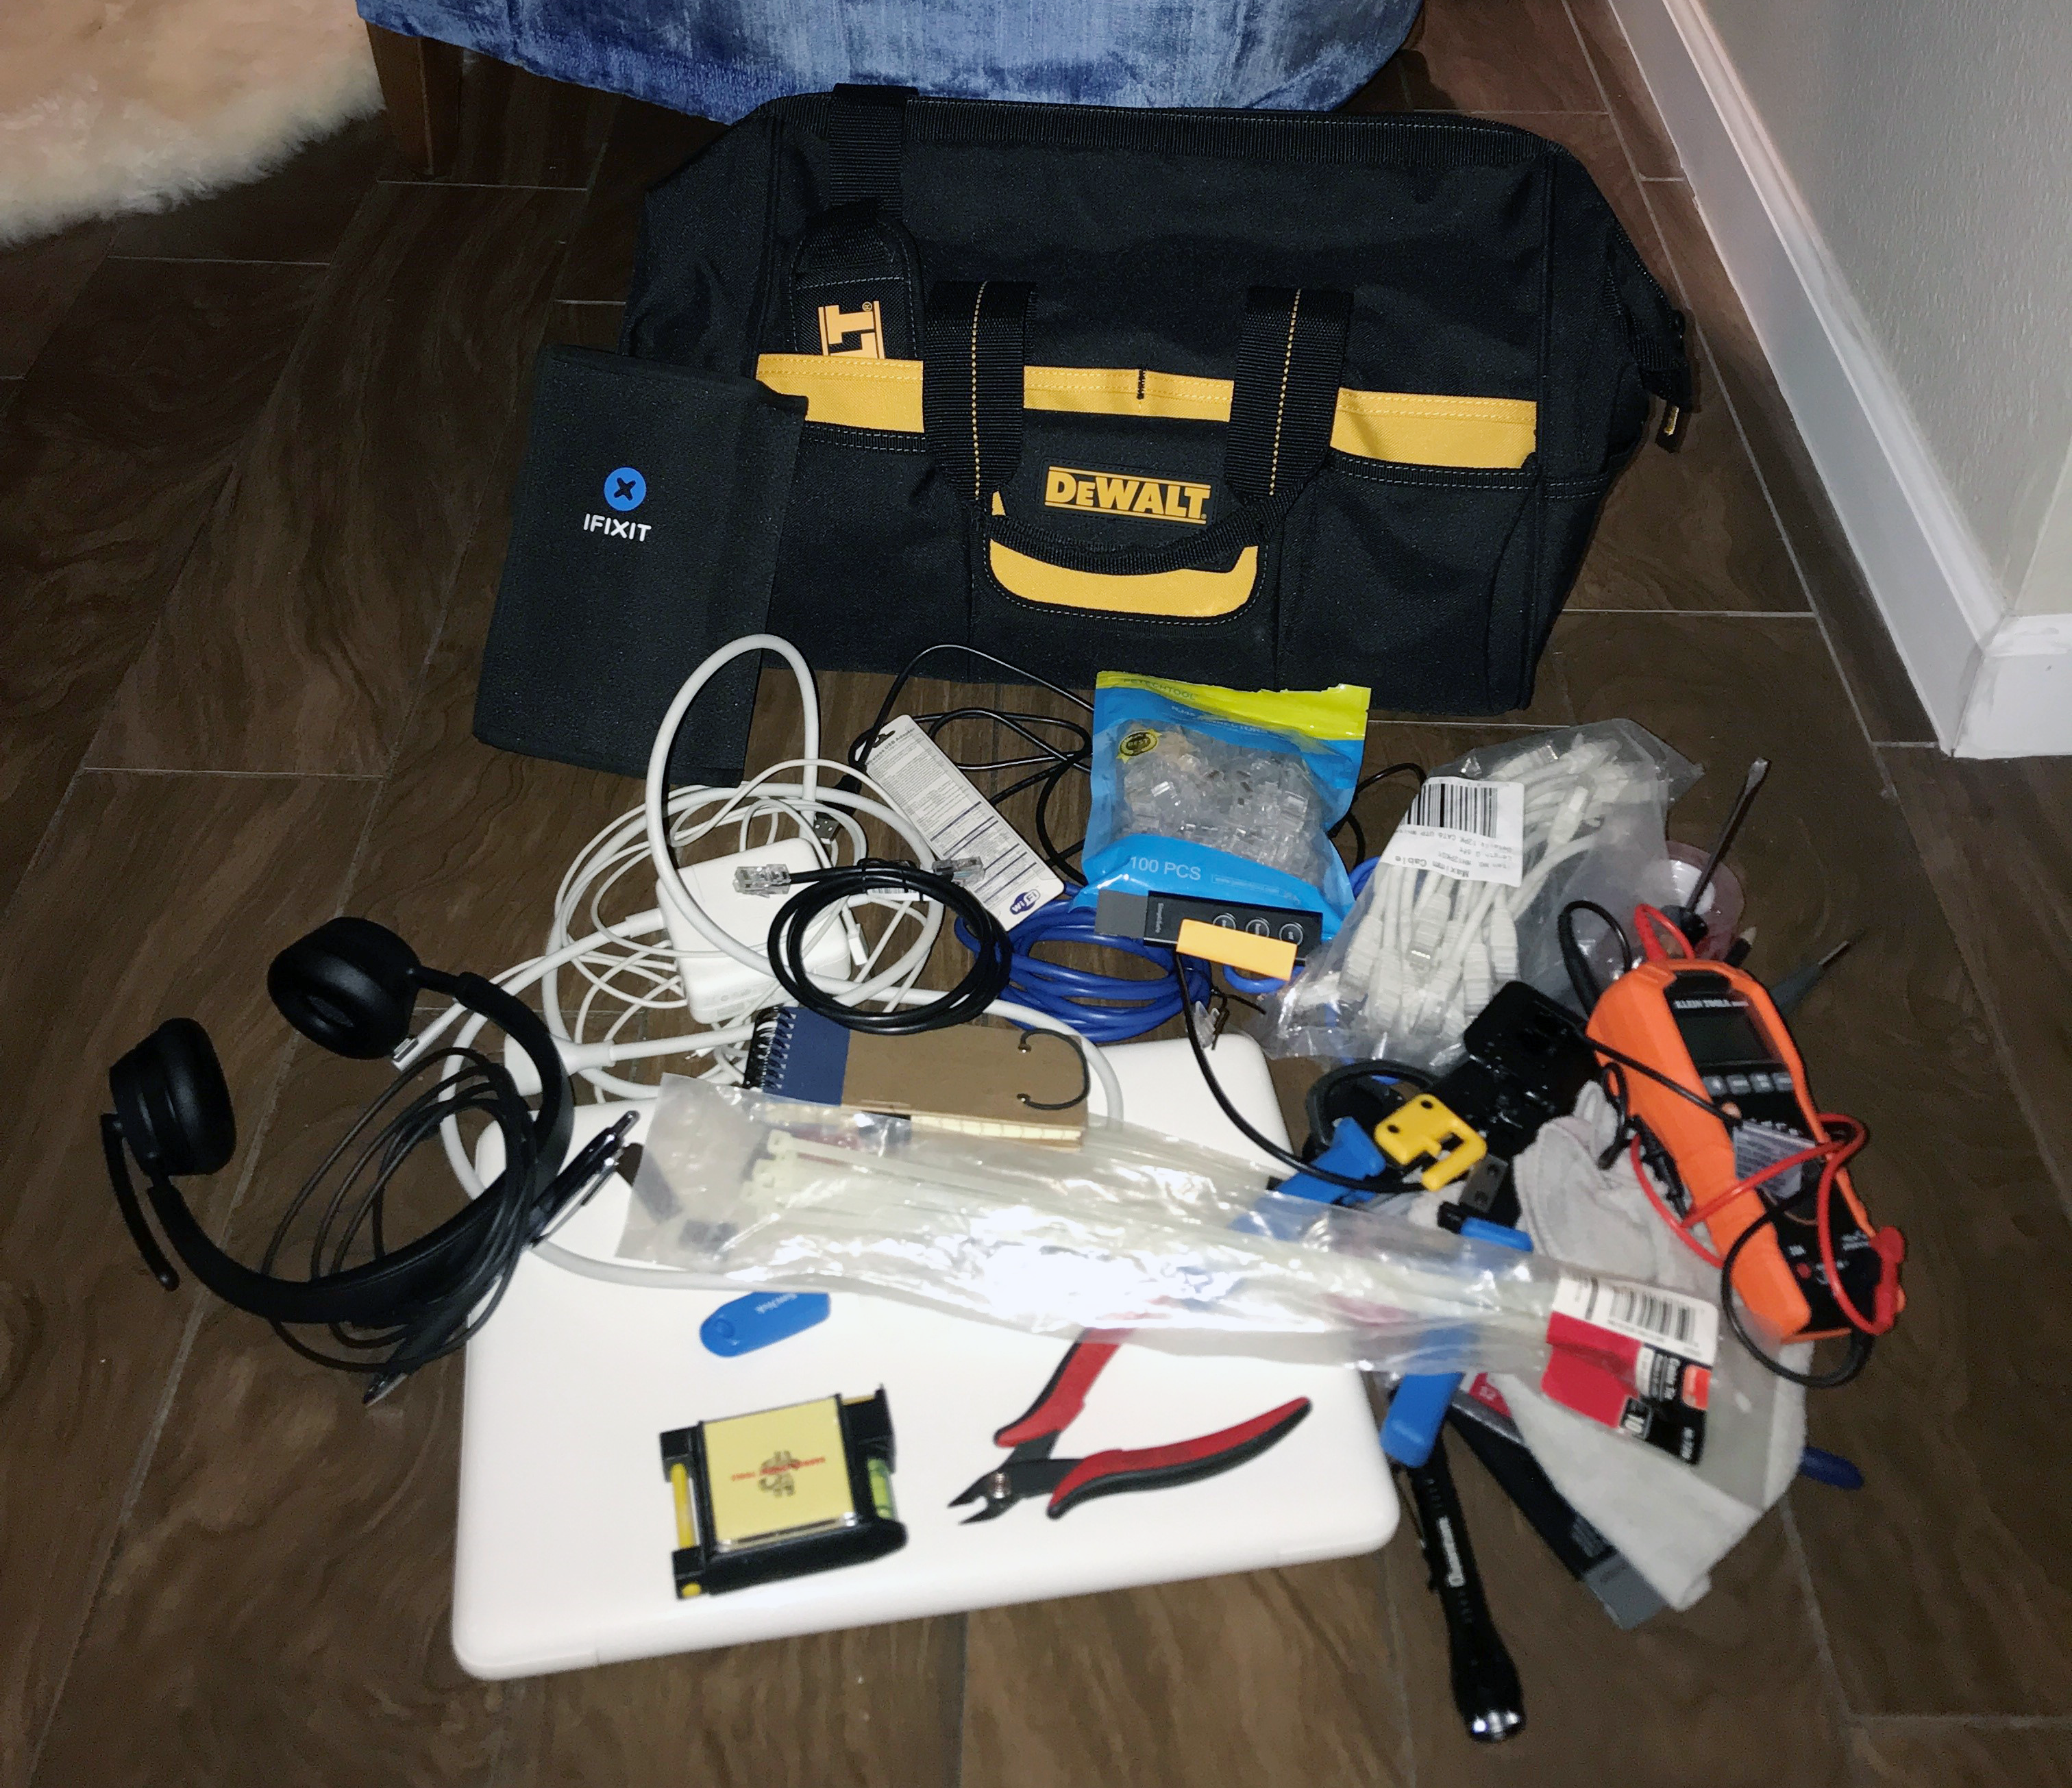
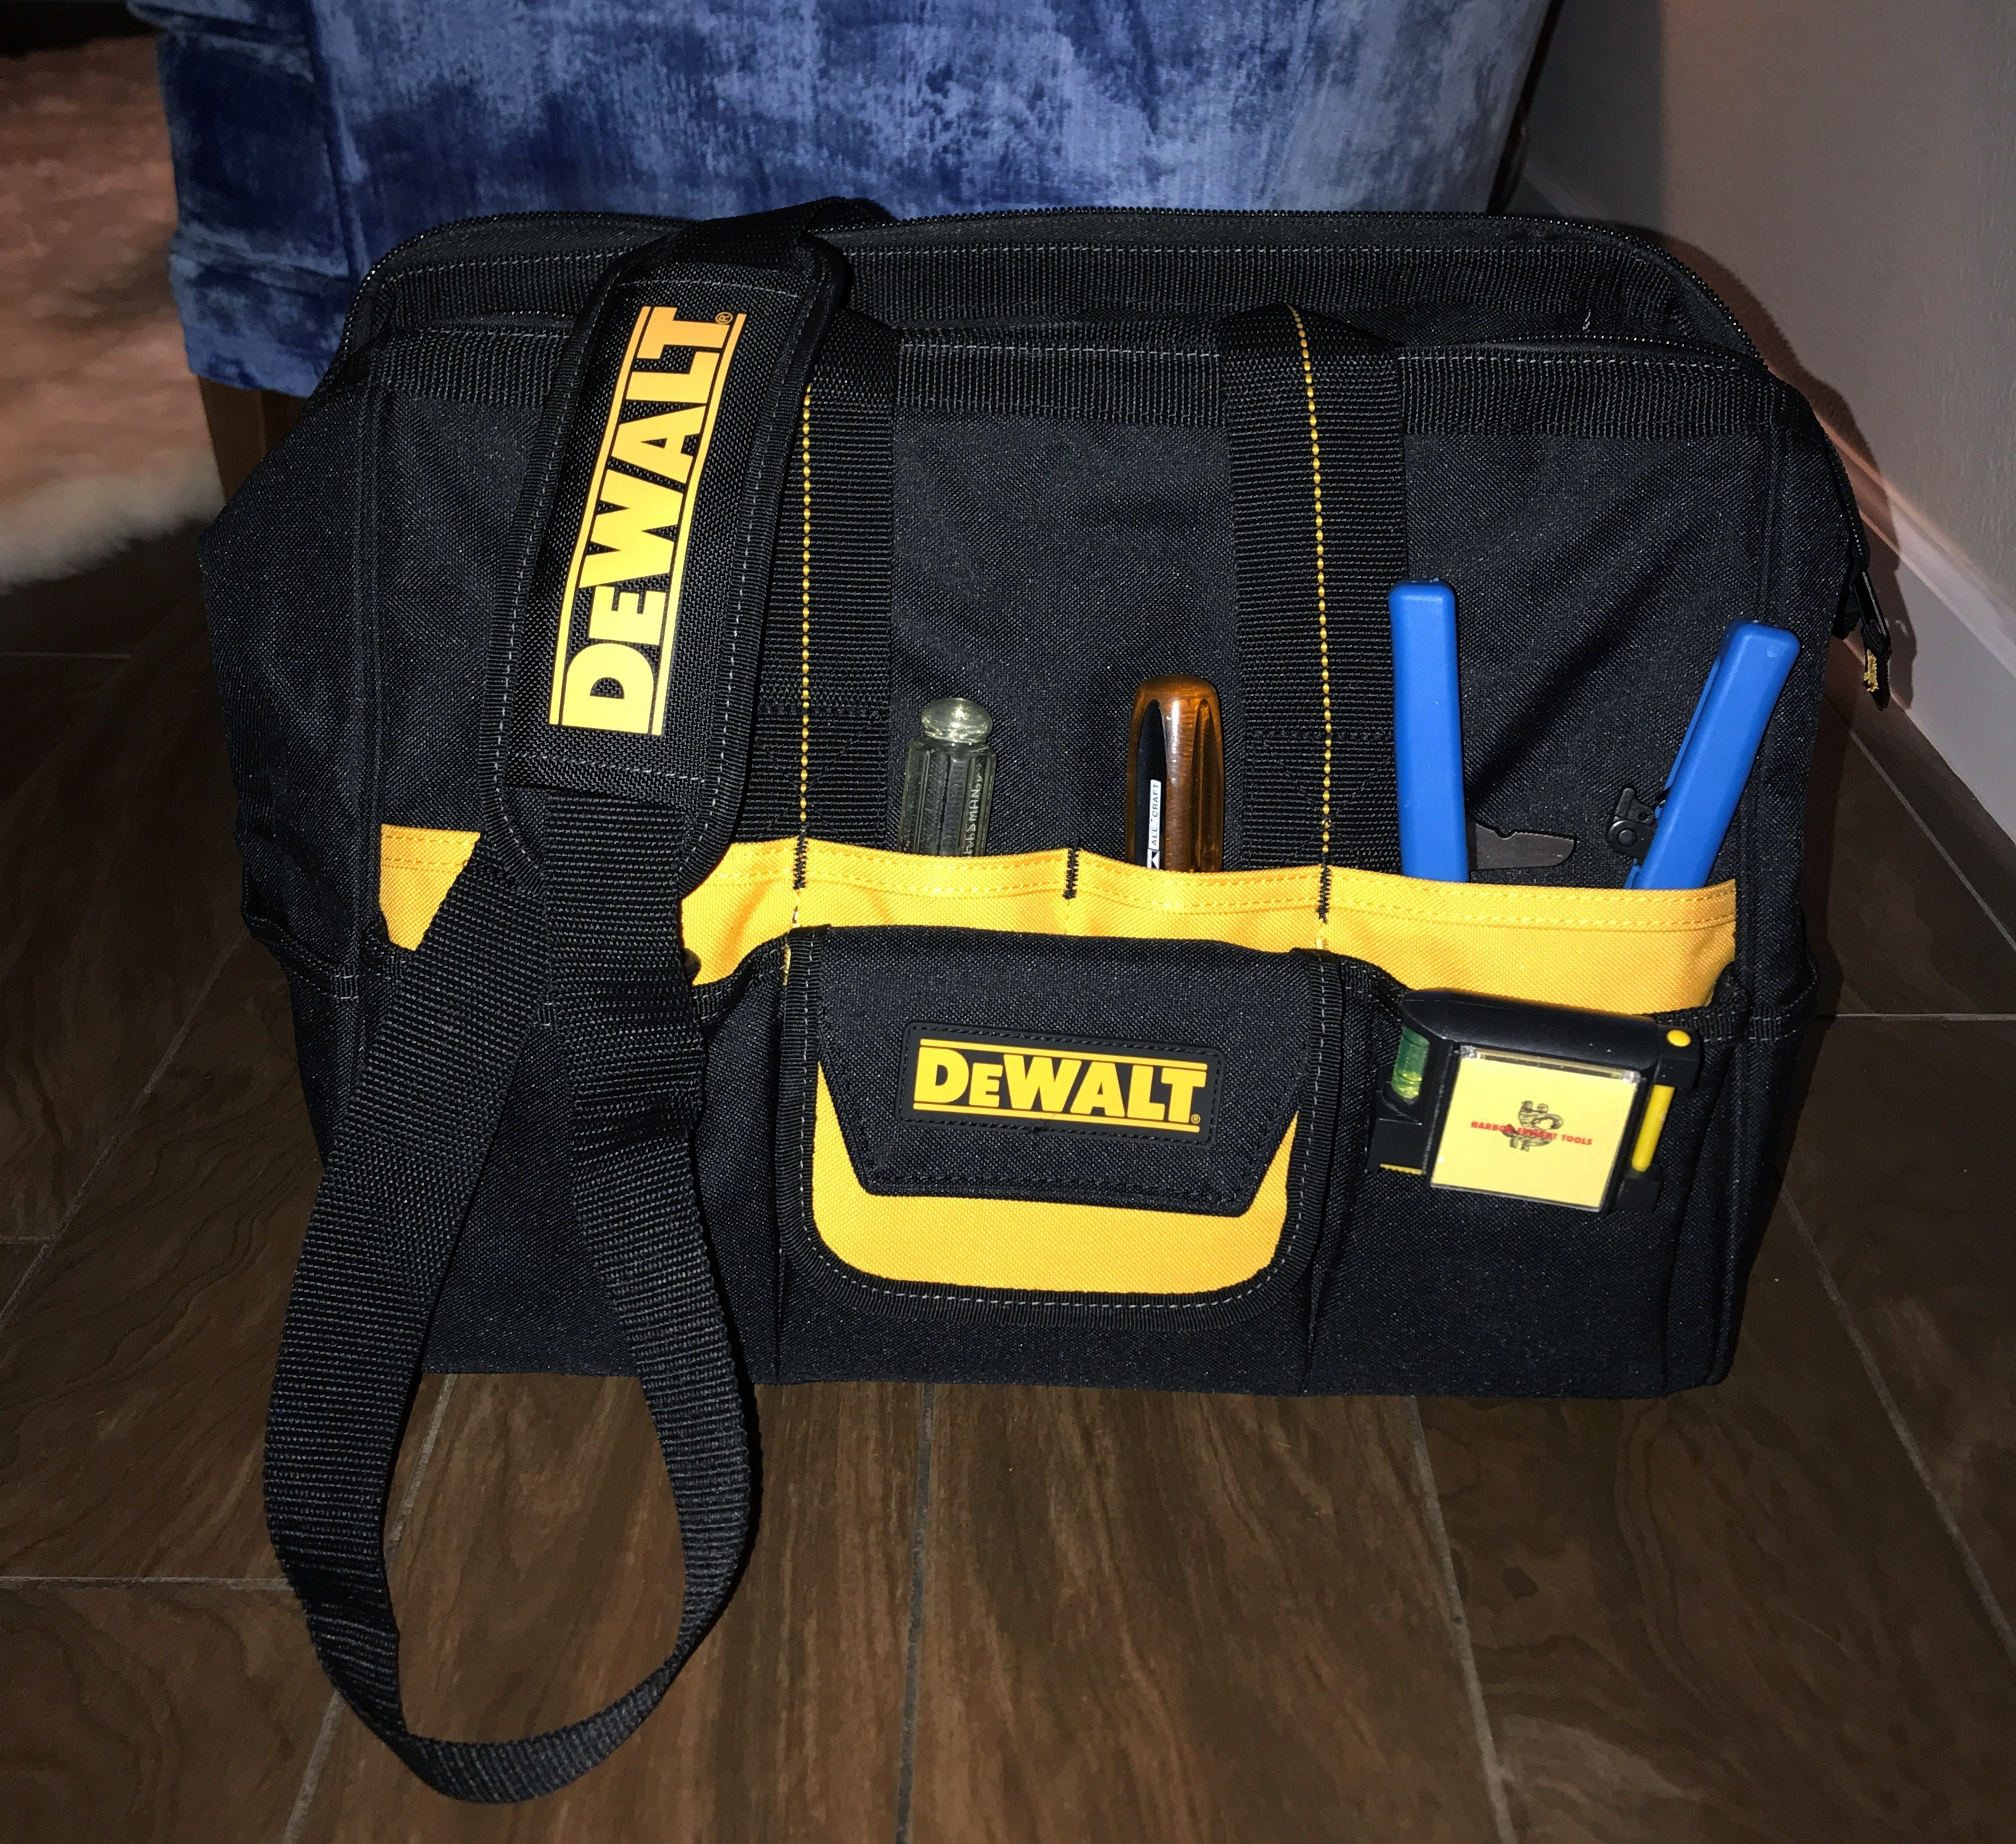
I mean..for me, it was time. Stuffing all these tools into a small backpack was inefficient and unprofessional. So I went with this really cool, affordable and I must say, high quality tool bag from DeWALT ->
At just 45$, it’s a steal! Really happy with this bag so far.
Check the before and after pics which also provide a quick ‘whats in my tool bag?’. Enjoy ->
Another day, another happy ‘small business’ client, hehe!
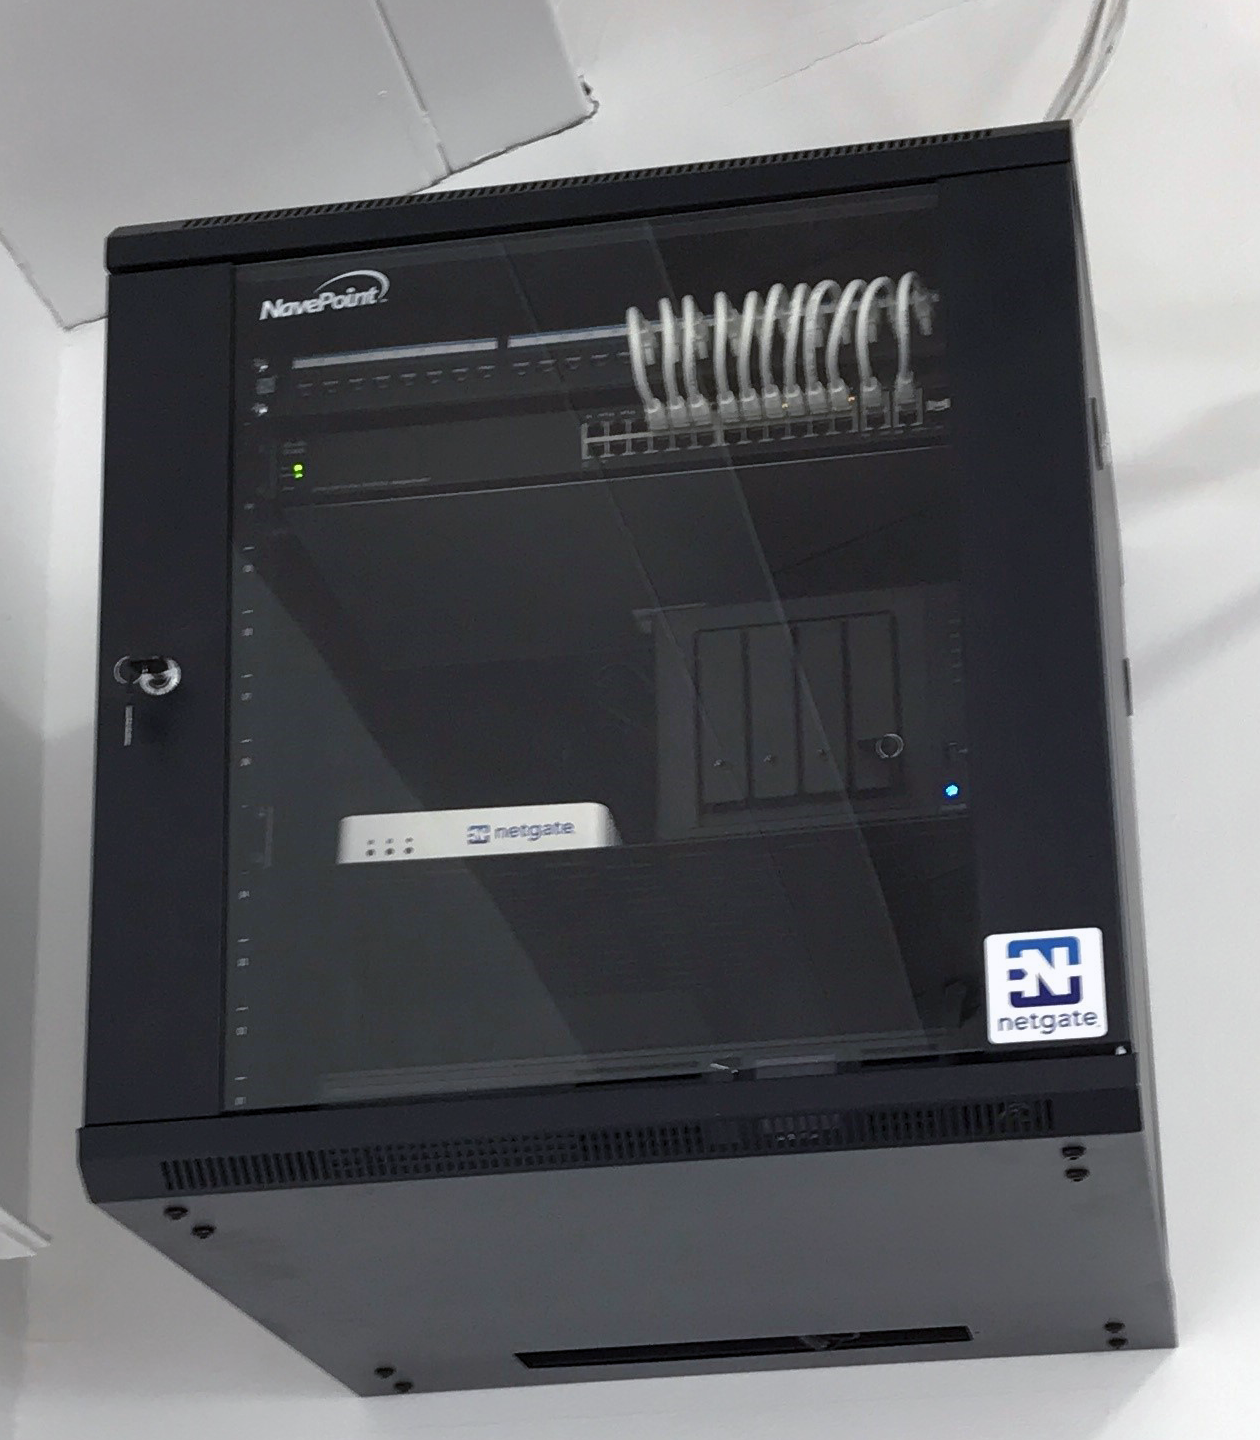
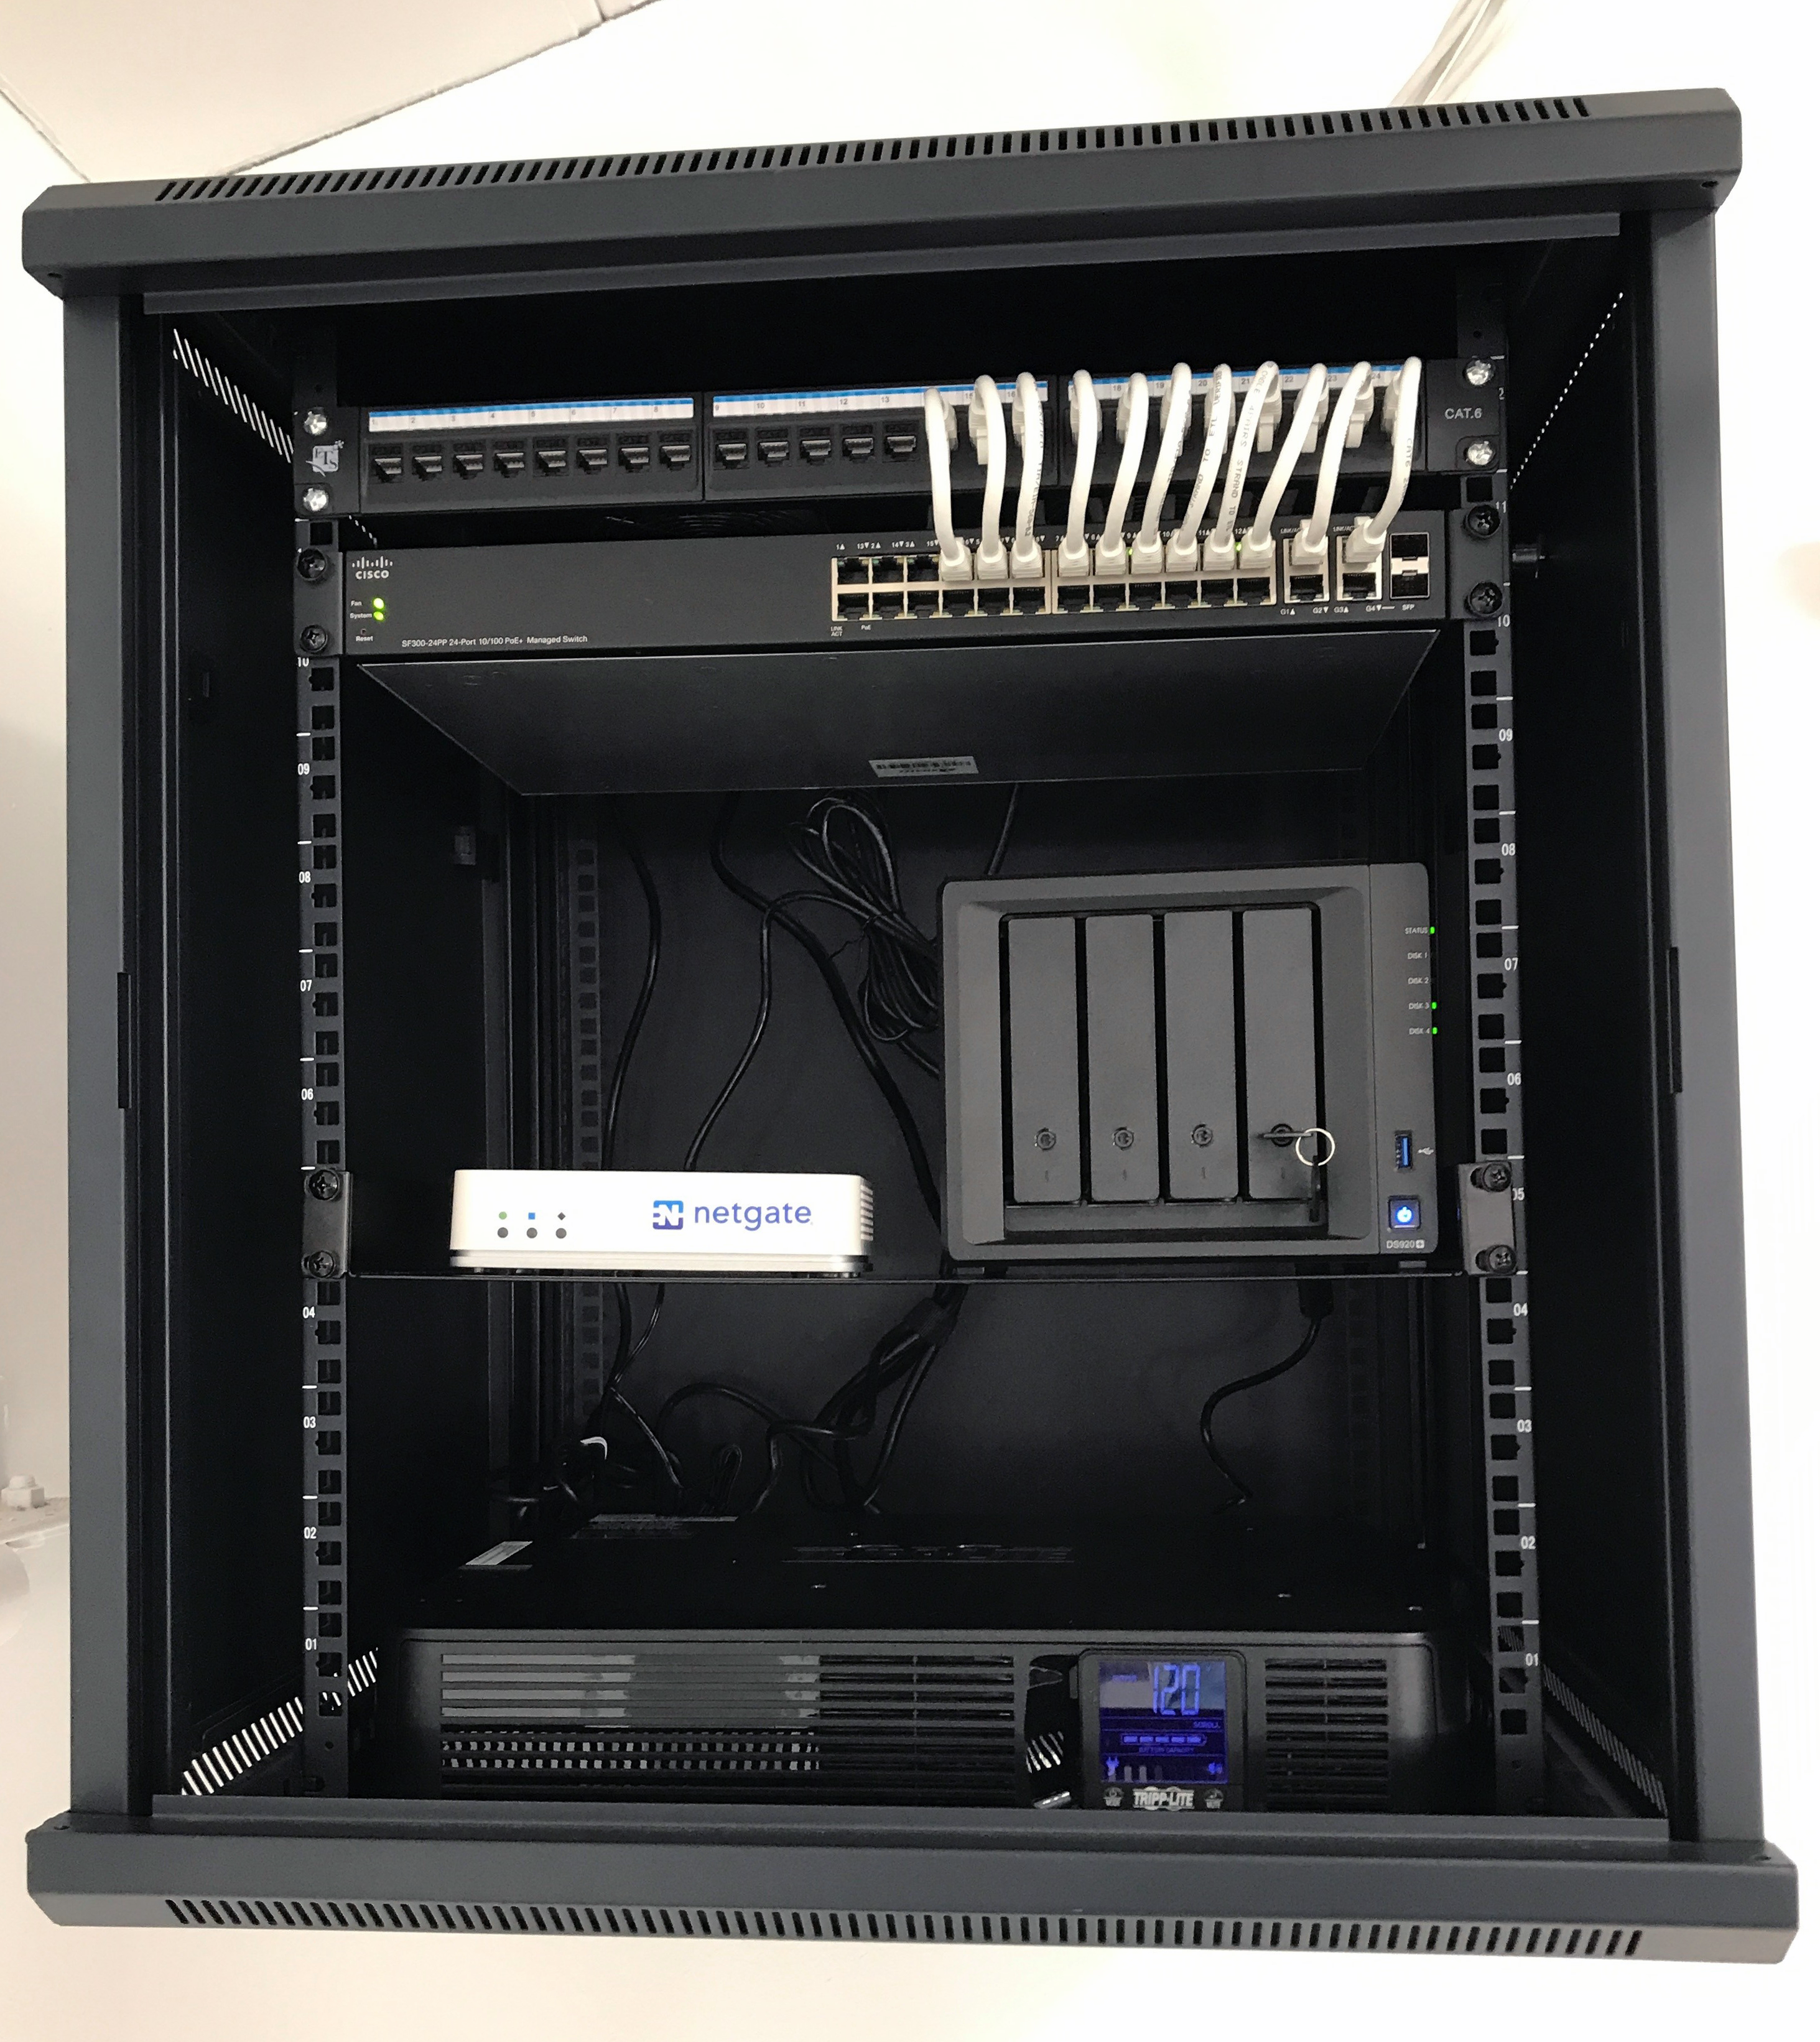
Had a client move into a small warehouse and needed a brand new network setup. We handled this project at full scale, from sourcing all the parts to physical install and network/server configuration. Nothing too crazy or complicated yet this network setup needed to be reliable and scalable.
After carefully assessing client specific needs and budget, we ended up going with ->
It was a little tricky setting up the UniFi Access Points and Synology NAS without an internet connection (customer did not have internet yet). The cables runs weren’t too bad since the ceiling is wide open on the warehouse floor though it was a physically taxing job, especially terminating all those ends. Did get help running the cables though, thank you Jeremiah! Other than that, everything went quite smoothly overall.
There is still quite a bit of network and server tuning left to do but the project as a whole has been completed! Physical install we knocked out in about two days and server/network configuration took about another day and a half. Great experience and thank you to my client for allowing us this opportunity to support their network and server infrastructure
Can definitely be a tricky process, especially if Zabbix is new to you. What can I say about Zabbix? Well, a fantastic free monitoring software. Monitor all sorts of parameters on your servers, firewalls (works great with pfsense, hehe), etc and receive email alerts automatically if a problem is detected. Love pulling and tracking data on your system(s) performance? Zabbix will spit out all kinds of graphs and data at you and provide a birds eye view of monitoring system parameters (i.e cpu usage, ram utilization, etc) over time, which can be essential in troubleshooting. I am actually quite new to Zabbix myself and besides the tricky somewhat complex initial setup, loving it so far. We’ll today, I’m here to help you sort through any challenges getting Zabbix 6.0 going on Ubuntu Server 20.04. In fact, I am going to cover how to install both.
In my case, I will be installing this on a VM using Hyper V.
configure your virtual machine software to boot from the iso you just downloaded
proceed with installing Ubuntu Server 20.04 LTS. Yes this is a headless (no gui) install in my example which is fine because if the server is literally just running Zabbix, no real need for a GUI
(reference the beginning of video for more details on installing Ubuntu Server)
Installing Zabbix
Now that we have our nifty fresh and clean Ubuntu Server all installed and up and running, it’s time to install Zabbix.
1 ssh to your new Ubuntu Server and prepare to run linux commands the rest of the way to install Zabbix
NOTE – as in my case, this may not install correctly for you. This was due to a certificate error. You will need to comment out: mozilla/DST_Root_CA_X3.crt
located in /etc/ca-certifiates.conf. Skip to 9:10 in the video for details.
create database zabbix character set utf8mb4 collate utf8mb4_bin;
create user zabbix@localhost identified by 'password';
Note – put your own password in between those quotes
grant all privileges on zabbix.* to zabbix@localhost;
quit;
6 import initial schema and data You will be prompted to enter your newly created password.
zcat /usr/share/doc/zabbix-sql-scripts/mysql/server.sql.gz | mysql -uzabbix -p zabbix
When running the above zcat command, you will be asked for the db password you created in step 5
NOTE – importing the schema data make take some time to complete and can be confusing as to if it’s actually working or hung. In one case i’ve even seen this take hours, but I just let it run and went to bed. Got up in the morning and it was successful. Not sure what the unique problem was there in that case but I digress. Usually it shouldn’t take more then 5 min max though.There is no confirmation that it completes but be patient and what you want to look for is for the system to return you to the command prompt. That is a sign it completed successfully. Skip to 12:55 in the video for details on this.
7 Configure the database for Zabbix server
(you need to specify the DB password in zabbix_server.conf file)
Edit file located here: /etc/zabbix/zabbix_server.conf
I use VIM to edit files = # sudo vim /etc/zabbix/zabbix_server.conf
Find and uncomment/edit the following line
DBPassword=password<---change to your db password you set in step 5
8 Start Zabbix server and agent processes
Start Zabbix server and agent processes and make it start at system boot.